Saturday 24 July 2010

Arundel


I have not posted much here recently so decided to post a longer series from my trip in Arundel. There are pictures taken with the Ricoh GR1 M-mount lens, the Panasonic 40mm lens and the Olympus 14-42mm lens.

Thursday 15 July 2010

Wednesday 14 July 2010

Pinhole (G)Fun


Reading online forums could give the impression that all there is to photography is gear, sharp images, no noise and high dynamic range.


Well, I could not disagree more. In my opinion photography or anything else which is creative should be about fun, enjoyment and the drive to experiment. So in the spirit of experimenting I always wanted to try some pinhole photography. Since building my first camera obscre in school, which feels like ages ago now, I always found the simplicity of this fascinating and it was one of the main reasons for me to buy a interchangeable lens camera. Since I am not into film and would never consider using (or lugging around more precisely) a dSLR the GF1 was the ideal camera to try this.

So as it often is with having too much time on your hands, I set poff and created a first version of a pinhole lens, it was a simple as taking some tinfoil and wrapping it around the c-mount adapter I bought. Making the right sized hole in there took a few attempts but I managed to get it working well enough as you can see here.

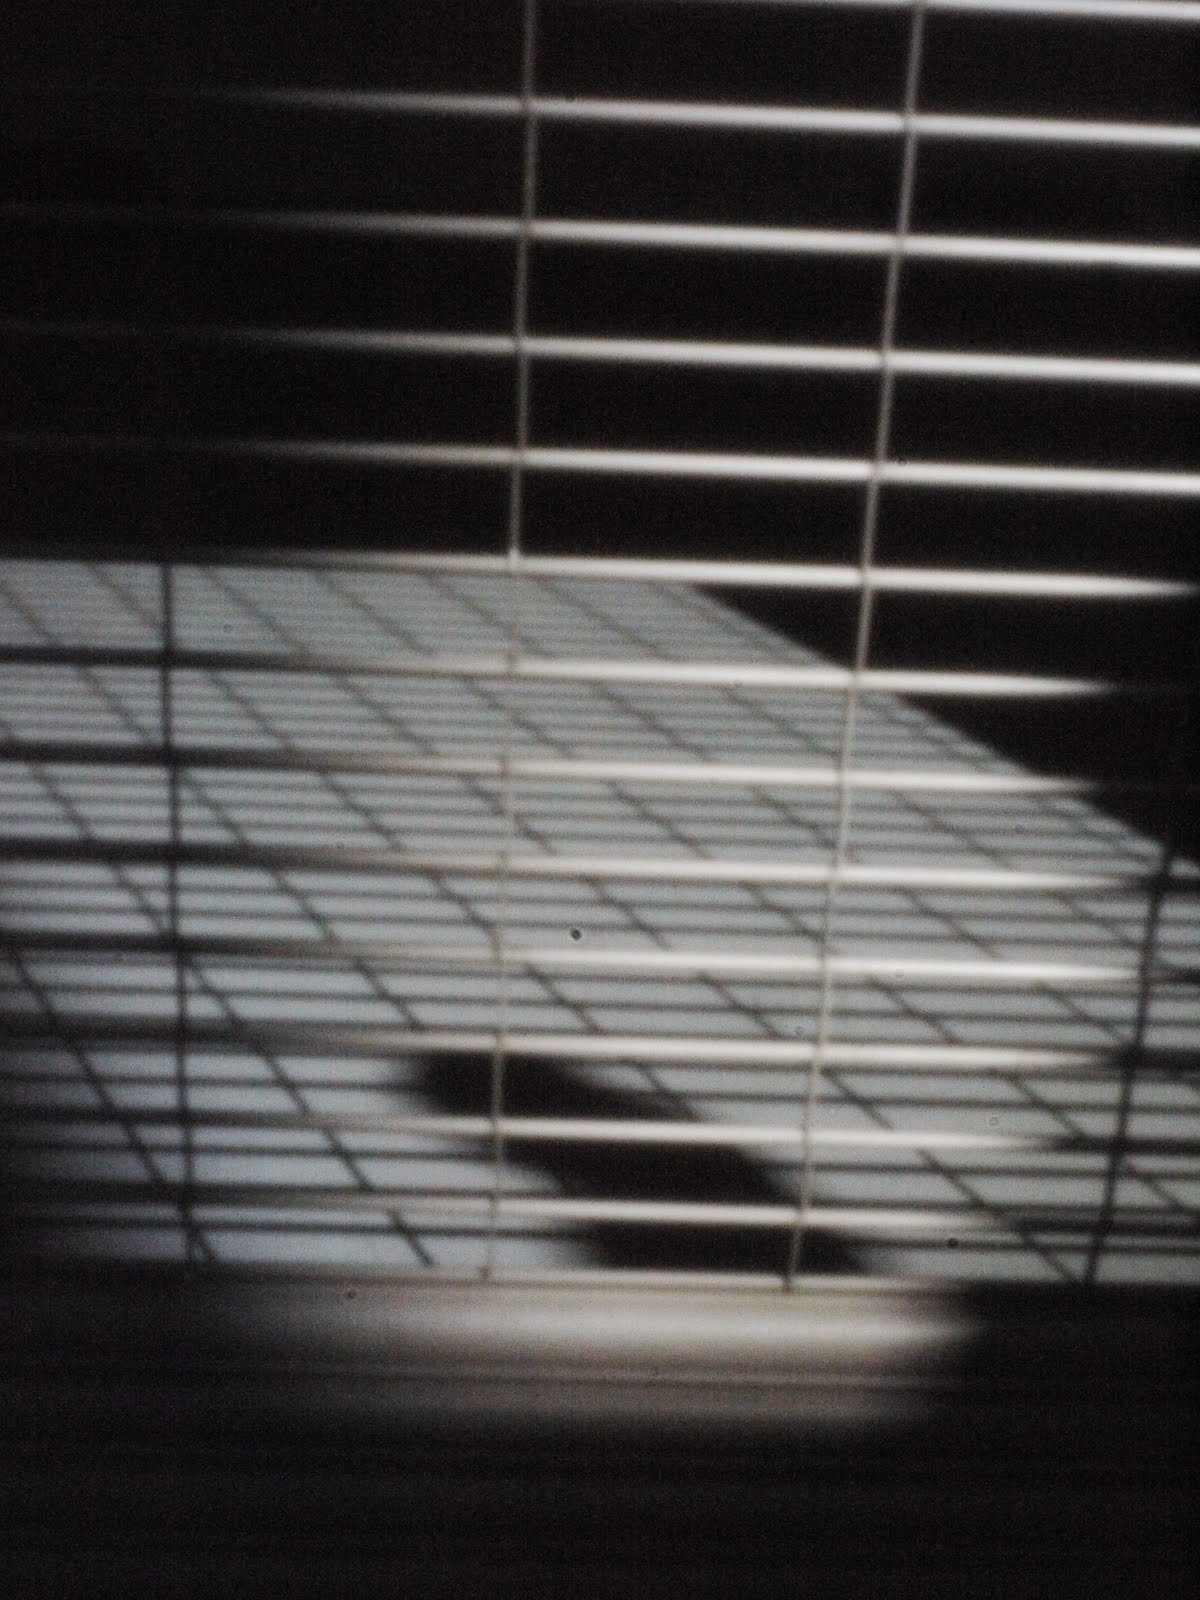
Because it looks silly to have tinfoil stuck in front of your camera had to find something better and I figured taking some black cardboard and poking a hole in there should do the job. Unfortunatelly this did not work quite as well and my hole was too big so this version failed, see here for the result.

Taking what I learned from the first experiments I decided to combine them into one lens which allows for the outside to look nice and black while the inside uses tinfoil for the 'aperture' or pinhole so it allows for smaller and more customizable pinhole size. This worked great and it allows me to 'change' the aperture and even do some '3D pinhole photography' by just having a 2nd hole next to the first. This I rounded off with using some glue and a magazine cutout with the picture of the Sigma DP1 lens which was a perfect fit for the size.


Overall this was a fantastic experiment and it helped me learn 2 things.

First, you can photoshop as much as you like but you can't use a pinhole efect n Photoshop or in camera in place of a real pinhole lens. It simply is not the same thing.

This leads me to reason number two. Using a pinhole lens means you need to expose every picture much longer so composition becomes way more important as well as the angle you take the picture, also the pictures won't be very sharp and suffer from low dynamic range. All these things make pinhole pictures very different and also help to slow you down and start thinking more about the picture you are about to take.

I can fully recommend this to anyone as it is fun and it does not cost you anything to try it out.

Monday 12 July 2010

Live East


GF1, f5.6, 1/59, ISO 200, RAW, 40mm

Not the greatest picture but I liked the art on this.

Also it shows very well the pretty big distortion the 20mm Panasonic lens has when it’s not removed in camera.

Sunday 11 July 2010

The Spirit of the Spanish


Tonight, I went to see the World Cup finals with friends near Oxford Circus. The pub was full of Spanish supporters so the atmosphere during and especially after the game was fantastic.
It did not stop there though since the Spanish fans took to the streets after the game and caused a bit of a chaos in Piccadilly Circus on their way to Trafalgar Square where everyone seemed to gather and was celebrating till late...or early for some as I can imagine.

I only had the GRD III with me, something I regretted a bit since the low light capabilities are nowhere near as good as on the GRD I or the GF1.

Thursday 8 July 2010

Fire Through the Pinhole


Sometimes you are limited by the choices you made when you walked out of the door with only your newly designed pinhole lens but then realize a proper lens would give you the results you would like in a situation like this. Well, since it is useless to complain or regret not having brough the right gear along it is best to just try and make do with what you have. I doubt many people have tried any documentary or journalistic photography with a pinhole camera but having a digital camera with a pinhole lens does work to some degree as you can see my small series here.

Also my new design of the pinhole lens is much better and does work very well but most important is that I have a lot of fun with this.


Wednesday 7 July 2010

Deliveryman


GF1, 1/40, ISO 3200, JPG

Today’s trials with my improved pinhole lens did not go quite as well and I must have messed up the design a bit. I need to make a smaler hole and try to get more distance to the sensor even if this means a smaler field of view. Better luck tomorrow I guess.

Tuesday 6 July 2010

Pinhole GF1


GF1, 1/20, ISO 3200, JPG

One of the main reasons for buying the GF1 was to use it as a pinhole camera. Now you might ask why would I spend so much money for a advanced camera and use it for pinhole photography if I can just take a box and a roll of film and it would be much cheaper.
Well, I don’t like film and find it too much hassle. Besides, the GF1 offers many advantages which film can not offer, like live view for example.

The picture posted here was one of the first sample pictures I took with the alpha version of my pinhole ‘lens’, some tinfoil over the C-mount adapter I had here. This was for testing purposes only to see how big the hole had to be and check a few things about the distance.
I have now made a beta version and will take it for a spin tomorrow.

I have said it many times but the ability to play around with old lenses or pinhole photography is exactly why I think the m4/3 format and especially the GF1 are so good and currently the best camera around. I surely hope Ricoh releases something similar soon, best thing would be a m4/3 sensor module for their GXR.

Sunday 4 July 2010

Groombridge Park Series

Since the Wordpress theme does not allow me to post more than one picture and also has advertising whenever I write something I thought I use this blog to post the latest series from groombridge Park. Also all pictures are taken with the GRD I so it makes sense to post them here.

The weather has been fantastiv for the last weeks so I decided again to go somewhere out of London for a daytrip. Going to Tunbridge Wells and taking a steam train to see Groombridge Park sounded like a great idea.

I have posted an almost random selection of pictures that hopefully give an indication of the trip. I took quite a lot so had to cut down quite a bit to reach even the ten I selected.